Getting started with Workly takes just a few minutes. This guide walks you through creating your account, verifying your email, and setting up your first workspace so your team can start collaborating right away. New to Workly? Learn what Workly is first.
Create your Workly account
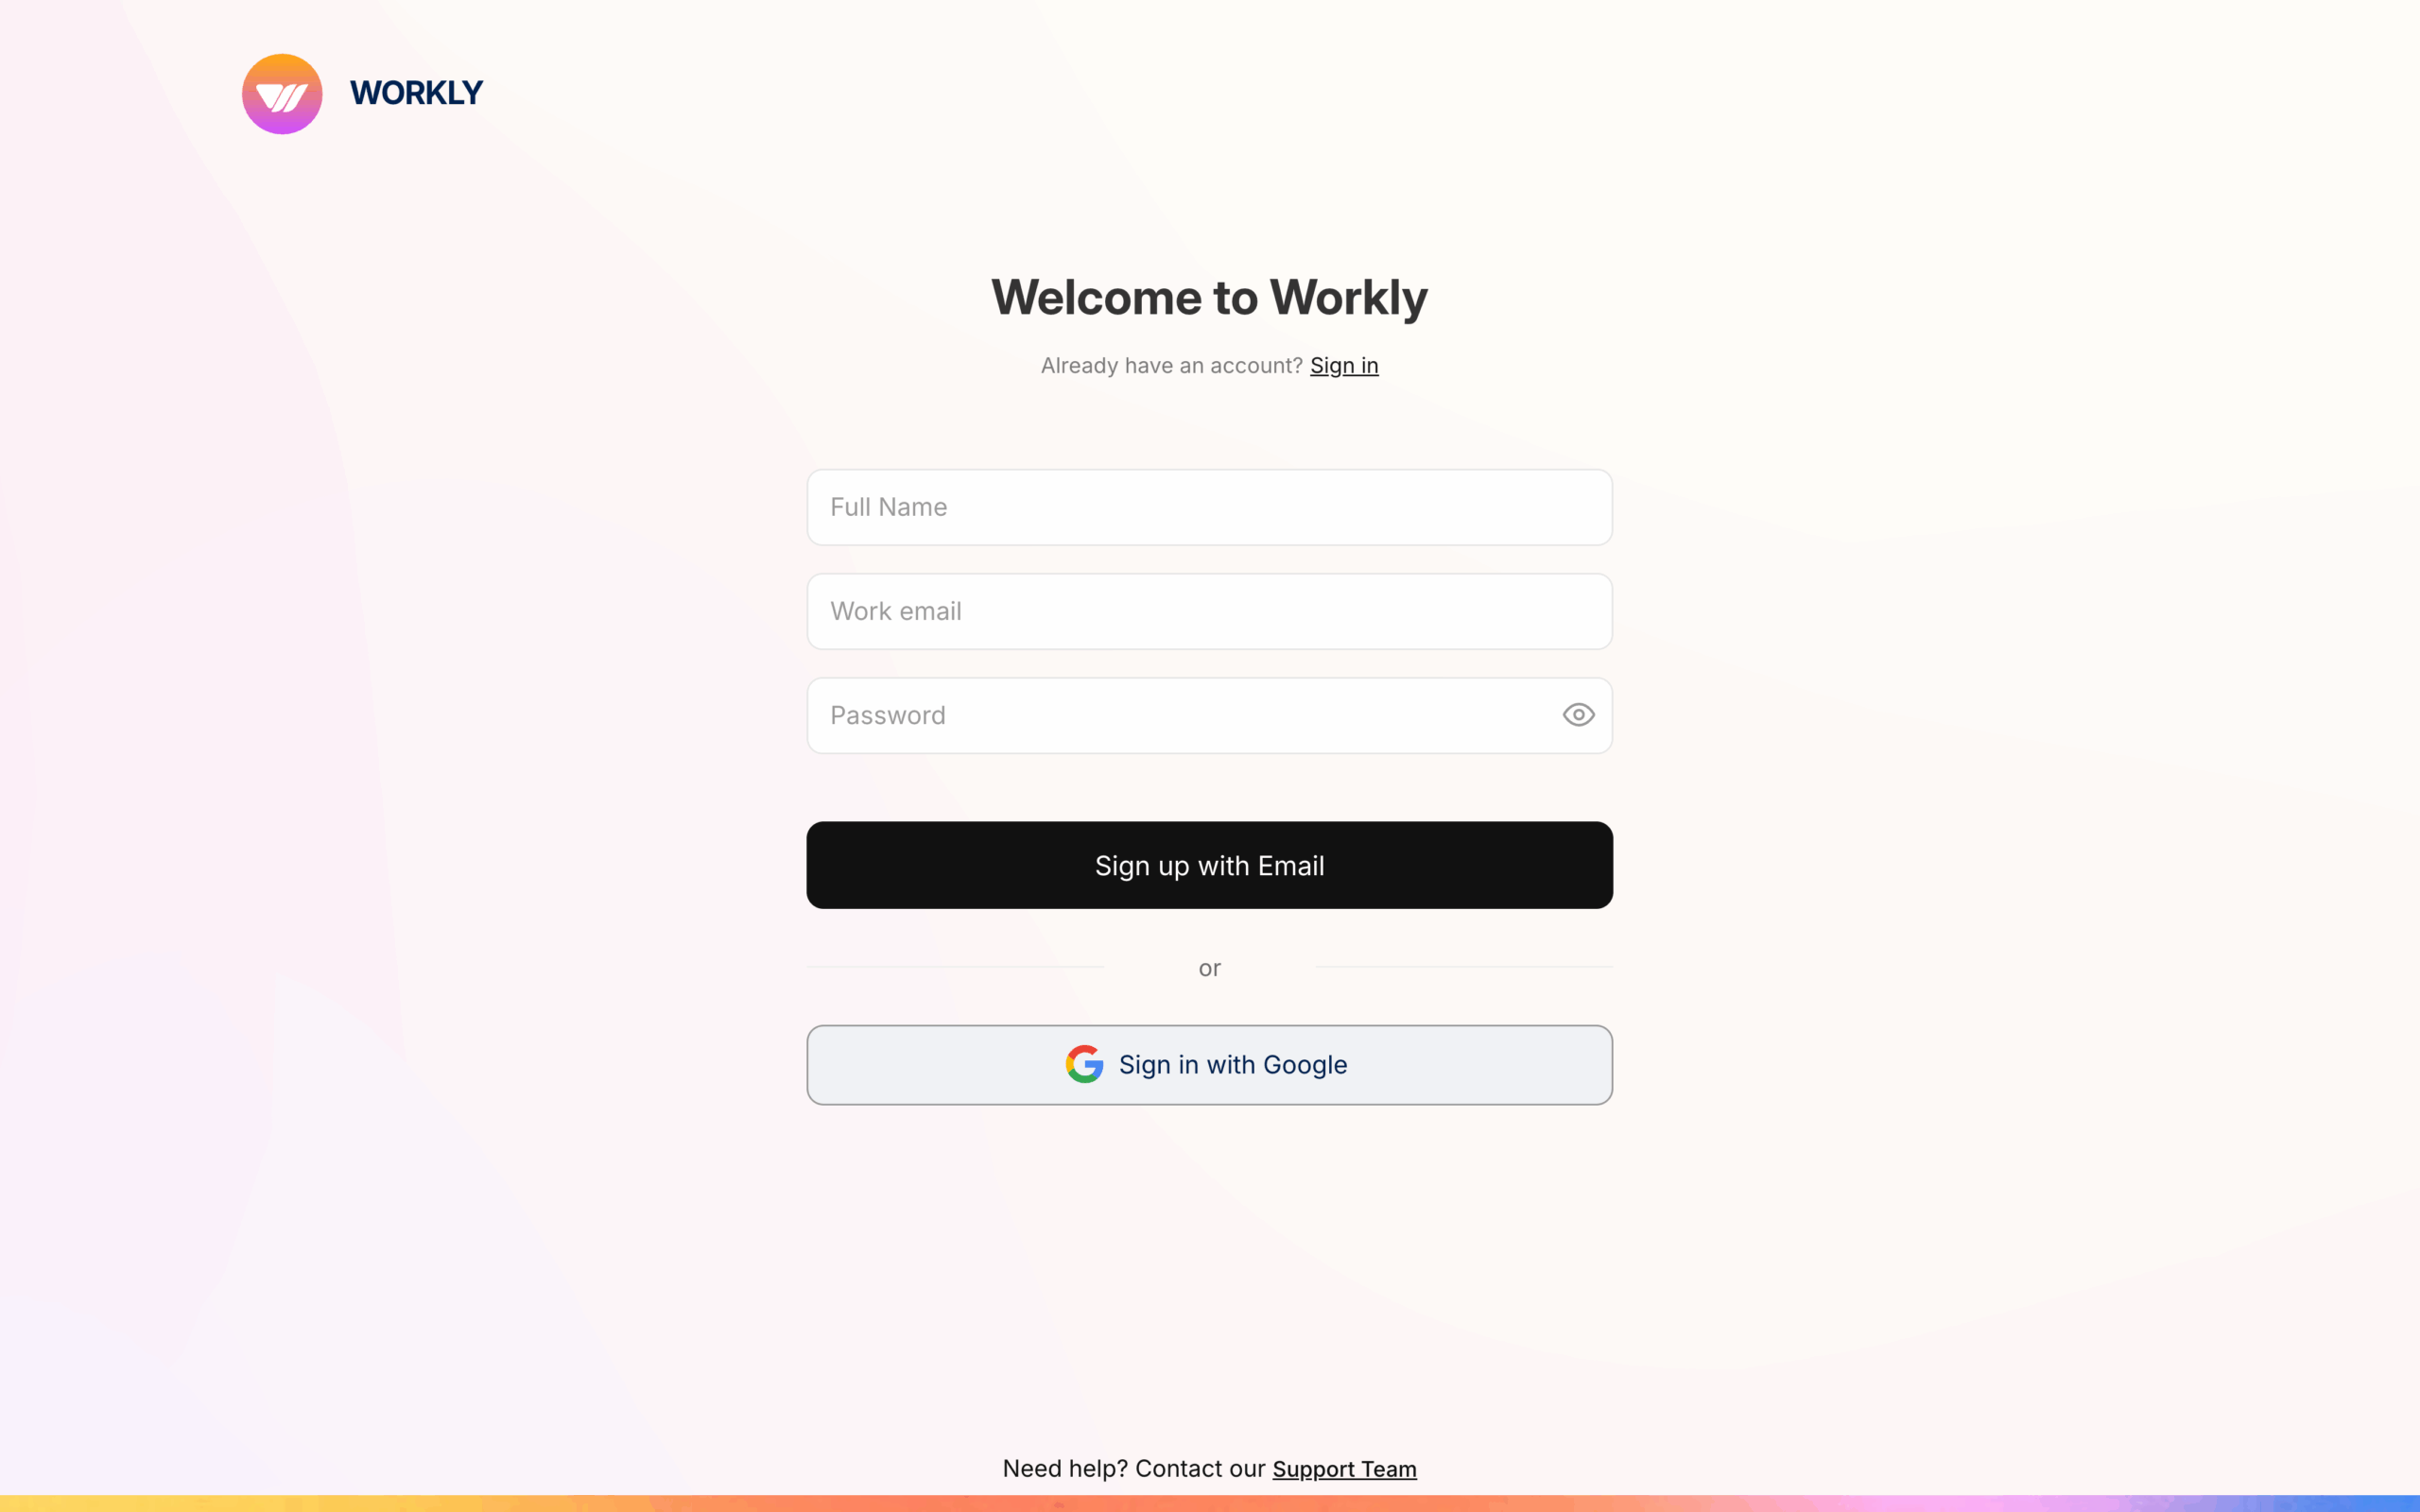
To create a Workly account, visit the sign-up page and fill in your details:
- Enter your full name
- Enter your work email address
- Create a password — it must be at least 8 characters and include an uppercase letter, lowercase letter, number, and special character
- Click Sign up with Email
You can also sign up using your Google account by clicking the Google sign-in button on the login page. This skips the password step and uses your existing Google credentials.

If you received an invitation link from a teammate, you’ll see a message confirming you’ve been invited to join an organisation. Complete the sign-up to accept the invitation automatically.
Verify your email address
After signing up, Workly sends a 6-digit verification code to your email. You’ll need to enter this code to activate your account.
- Check your inbox for an email from Workly
- Enter the 6-digit code on the verification page
- Click Verify Code
Once verified, you’ll be logged in automatically and taken to your workspace.
Didn’t receive the code? Click Resend Code on the verification page. You can request a new code every 60 seconds. Check your spam folder if you still don’t see it.
Set up your workspace
A workspace is where your team collaborates in Workly. After your first login, you’ll be guided through setting one up.
Choose your path
If there are existing public workspaces associated with your email domain, you’ll see two options:
- Join an existing workspace — Click Open next to any listed workspace to join instantly
- Create a new workspace — Click Get Started to build one from scratch
Name your workspace
Choose a name your team will recognise, like your company name or team name. Workly may suggest a name based on your email domain.
You can also check the option to let anyone with your email domain join automatically — this makes it easy for teammates to find and join your workspace without needing an invitation.
Invite your team
Add your teammates by entering their email addresses. You can type each email and press Enter to add it, or paste multiple emails separated by commas.
Each invitation is valid for 30 days. You can always resend or extend invitations later. If you’d prefer to invite people later, click Skip to continue. Learn more about inviting team members.
Connect integrations
Workly can connect to your existing tools to supercharge your workflow. During setup, you can integrate with:
- Google Gmail
- Google Drive
- Google Calendar
Click Integrate on any service to connect it. You’ll be asked to grant permissions through a standard Google sign-in screen. You can skip this step and connect integrations later from your settings.
Enable notifications
The final step asks you to allow browser notifications so you never miss updates from your team. Click Allow to enable them, or Skip if you prefer to set this up later.
That’s it — your workspace is ready. You’ll be taken to your workspace where you can create your first project, start a conversation, or explore the platform.
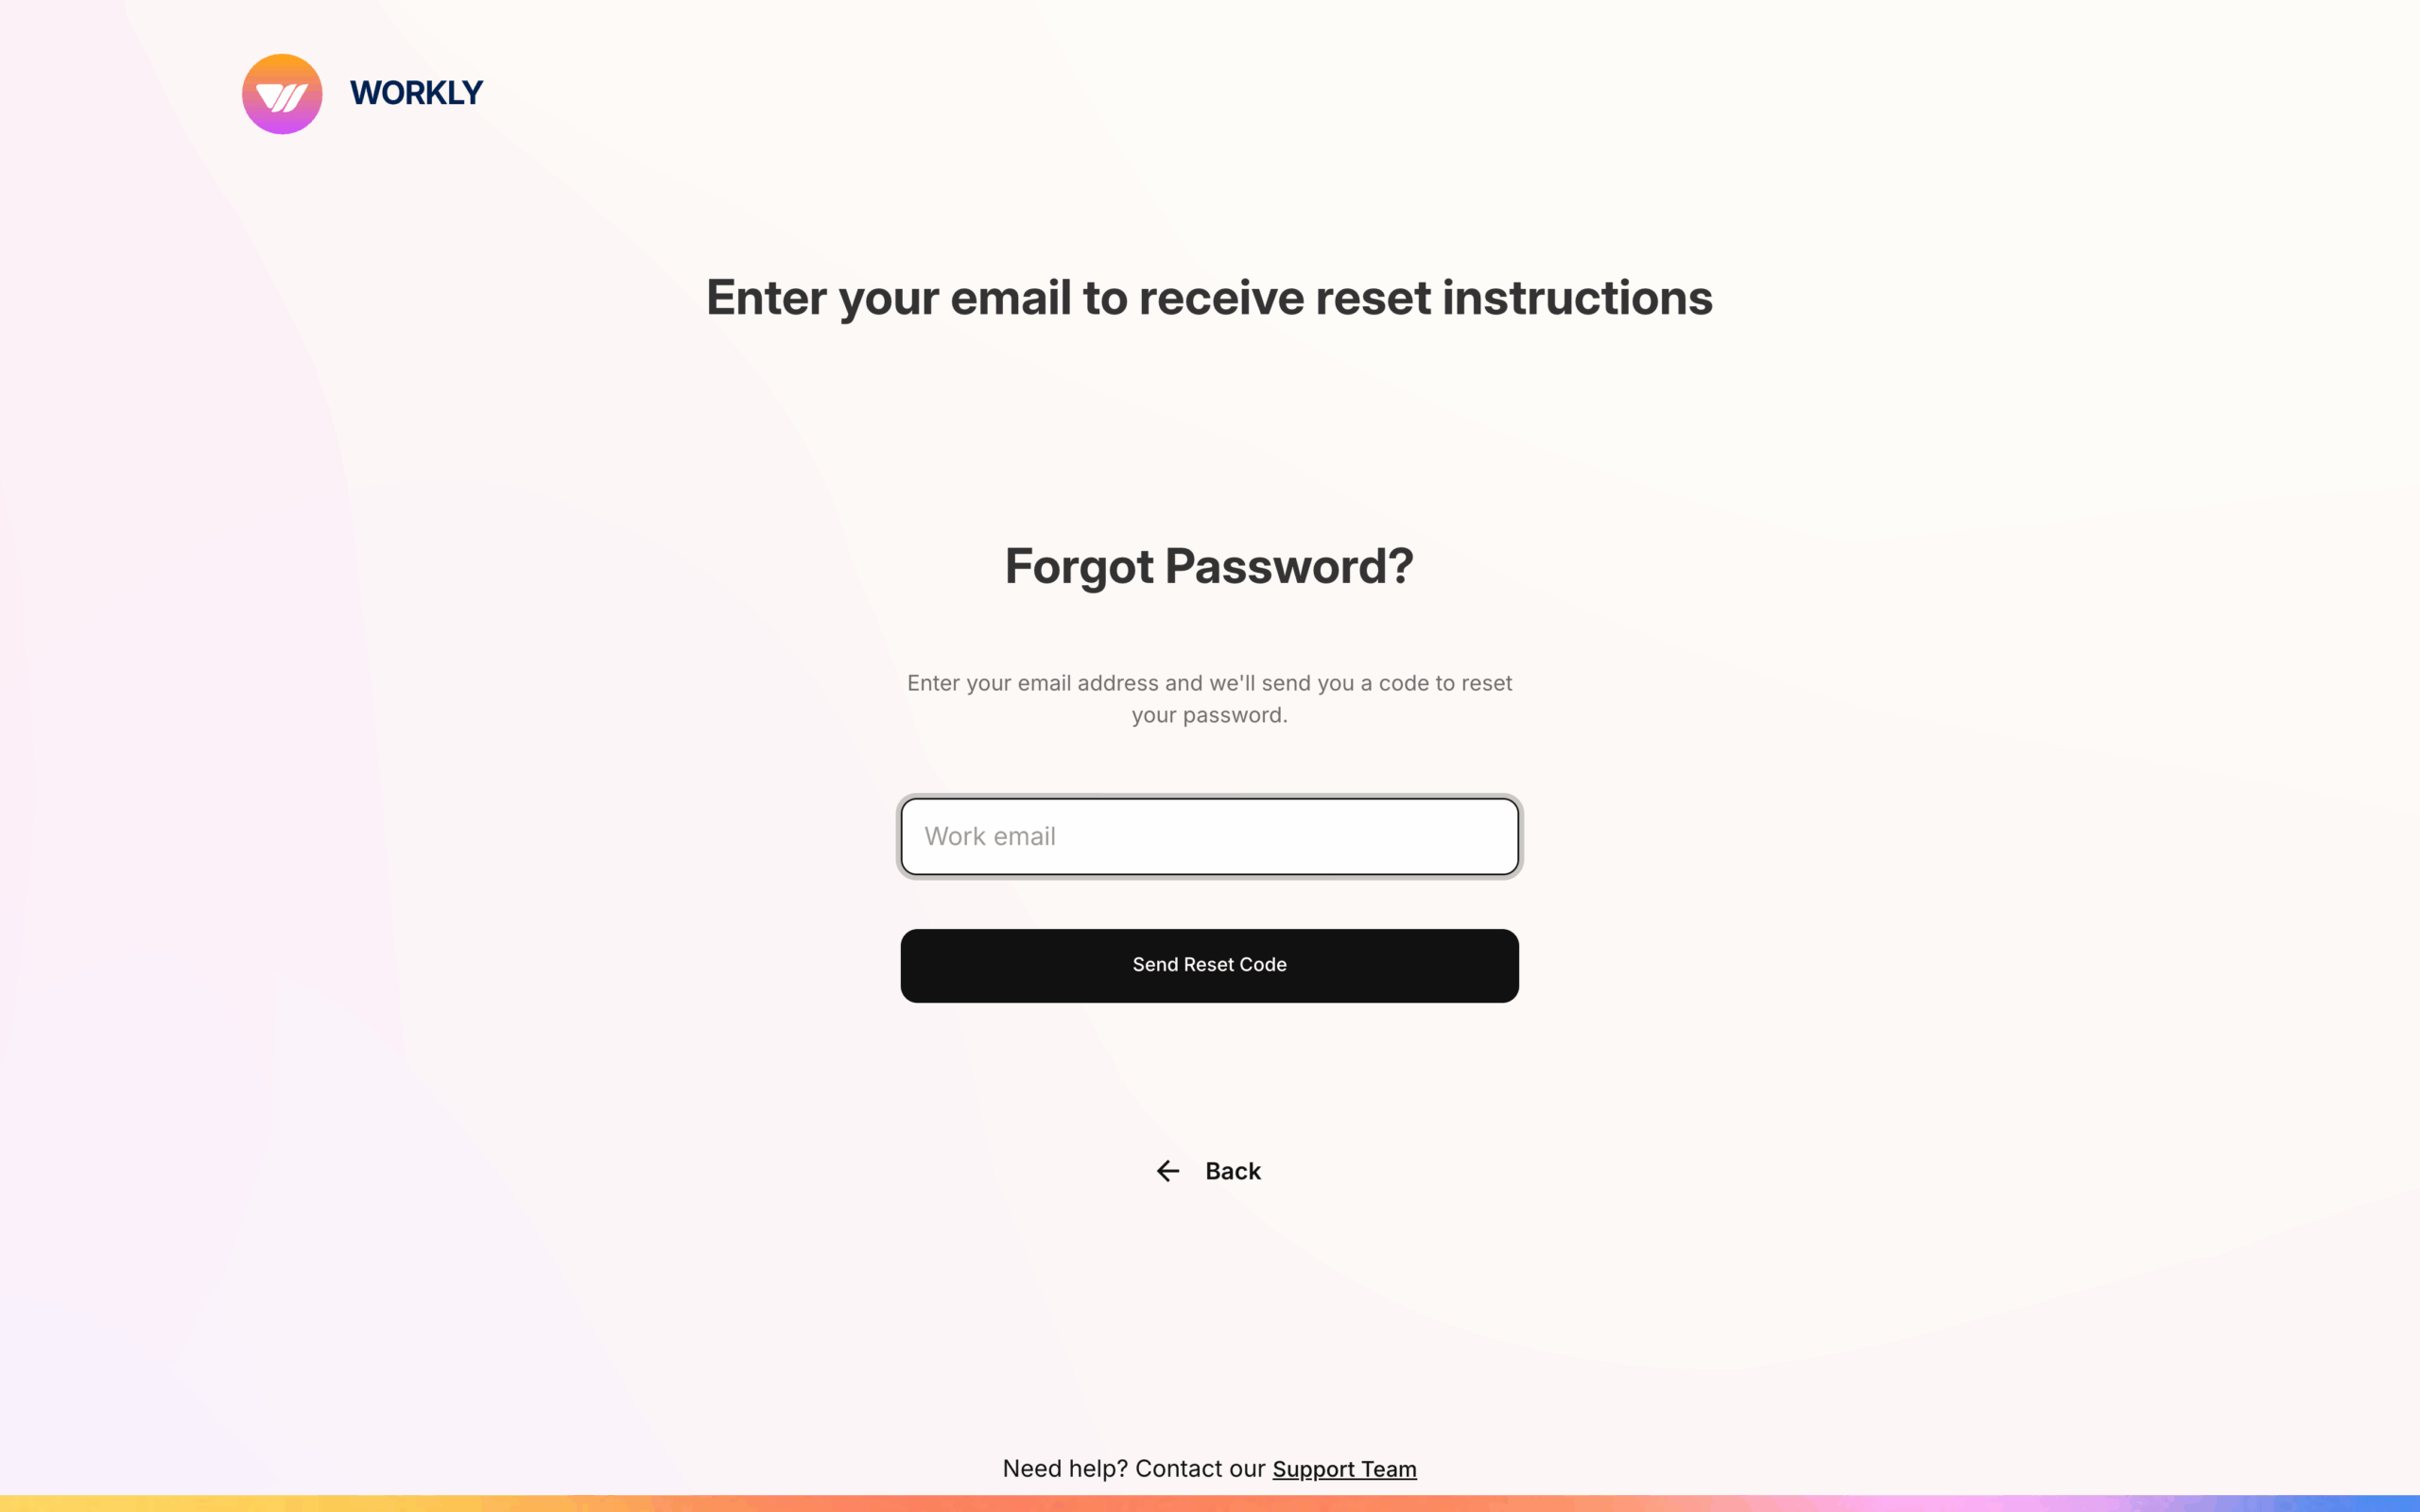
Reset your password
If you forget your password, click Forgot your password? on the login page, or go directly to the password reset page. Enter your email address and Workly will send you a reset code. Enter the code along with your new password to regain access. The new password must meet the same requirements as during sign-up.
Frequently asked questions
How do I create a Workly account?
Visit the Workly sign-up page, enter your full name, work email, and a password (at least 8 characters with uppercase, lowercase, number, and special character), then click Sign up with Email. You can also sign up with your Google account. After signing up, verify your email with the 6-digit code sent to your inbox.
I didn’t receive the verification email. What should I do?
Click the Resend Code button on the verification page. You can request a new code every 60 seconds. Also check your spam or junk folder. Make sure you entered the correct email address during sign-up.
Can I change my workspace name after creating it?
Yes, workspace settings can be updated after creation. Go to your workspace settings to change the name, visibility, and other configuration options at any time.


